Stock controller thumbsticks are built for the average player—but competitive gaming is anything but average. If you’ve ever missed a crucial shot, overcorrected your aim, or felt thumb fatigue during long sessions, your hardware could be holding you back. This guide to diy controller stick upgrades shows you how to fix that with simple, affordable modifications that dramatically improve grip, precision, and control. Based on extensive testing of dozens of stick mods and close analysis of pro-level setups, we break down which upgrades actually make a difference—and how to install the right ones to match your playstyle and gain a true competitive edge.
Beyond Stock: The Tangible Benefits of a Custom Setup
I used to blame lag for every missed headshot. Then I swapped to a taller right stick—and everything changed. The physics are simple: a taller stick increases the arc of motion (the distance your thumb travels), which allows finer micro-adjustments. In FPS and third-person shooters, that extra range translates to smoother tracking and PRECISE flicks. It’s not magic; it’s leverage.
Grip matters too. Standard plastic can get slick during intense matches (sweaty palms are undefeated). Textured rubber and concave tops “lock” your thumb in place, reducing slippage and delivering consistent input. That consistency is critical in competitive play.
There’s also ergonomics—the science of designing for comfort. Custom heights reduce joint strain during marathon sessions. After switching, my thumb stopped aching after long raids.
Some argue stock sticks are “good enough.” Maybe. But diy controller stick upgrades let you run a high-rise for aim and a low-profile grip for movement—BUILT FOR YOU.
Your DIY Toolkit: Assembling the Essentials for a Flawless Mod
Most guides gloss over the tools. That’s a mistake. The difference between a clean mod and a scratched shell usually comes down to preparation.
The Must-Haves:
- Plastic pry tool (prevents cosmetic damage—metal tools are a gamble)
- T8 security screwdriver (for tamper-resistant screws)
- Phillips #00 screwdriver (for internal fasteners)
- Fine-tipped tweezers (for ribbon cables and tiny springs)
Some argue you can “make do” with a basic toolkit. Technically true. But stripped screws and cracked clips say otherwise.
Choosing Your Upgrades:
- Replacement Thumbsticks: Metal for durability, rubberized for grip, or modular kits with interchangeable tops.
- Precision Rings: Foam rings in varying densities that increase stick tension for smoother aim control.
- Thumbstick Grips: Silicone or rubber caps for quick, non-invasive improvements.
What others miss? Matching resistance levels to your in-game sensitivity settings—critical for competitive play.
Pro Tip: Use a magnetic parts tray or bowl to track screws during diy controller stick upgrades.
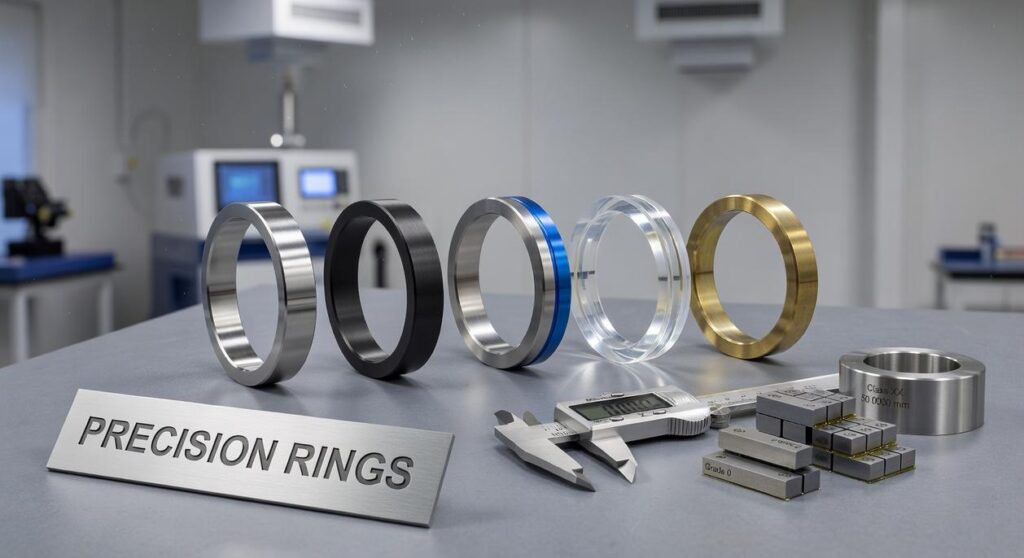
Upgrade #1: Installing Precision Rings for Smoother Aim Control
Precision rings are small foam dampeners that sit around the base of your controller’s thumbstick. Their job is simple: add gentle resistance. If “dampening” sounds technical, it just means reducing sudden movement—like shock absorbers on a car, but for your aim.
The Mechanical Advantage
When you flick a stick at high sensitivity, tiny thumb movements can send your crosshair flying. Precision rings slow that initial burst of motion, helping prevent overcorrection (we’ve all whiffed an easy headshot because of it). By cushioning the stick’s outer edge, they make fine adjustments easier—especially in long-range gunfights.
Some players argue this limits responsiveness. That’s fair. If you rely on lightning-fast snaps in close quarters, heavy resistance might feel restrictive. But for tactical shooters like Valorant or long-sightline battles in Call of Duty, control often beats speed. Pro tip: start with the softest density before assuming they’re “too stiff.”
If you’re exploring diy controller stick upgrades, this is one of the simplest and most affordable ways to test mechanical improvement. Curious how this compares to hardware swaps? Check out do custom analog sticks really enhance performance.
60-Second Installation Guide
- Pick a ring density (start soft).
- Stretch it over the thumbstick.
- Slide it into the base well.
- Test and adjust if needed.
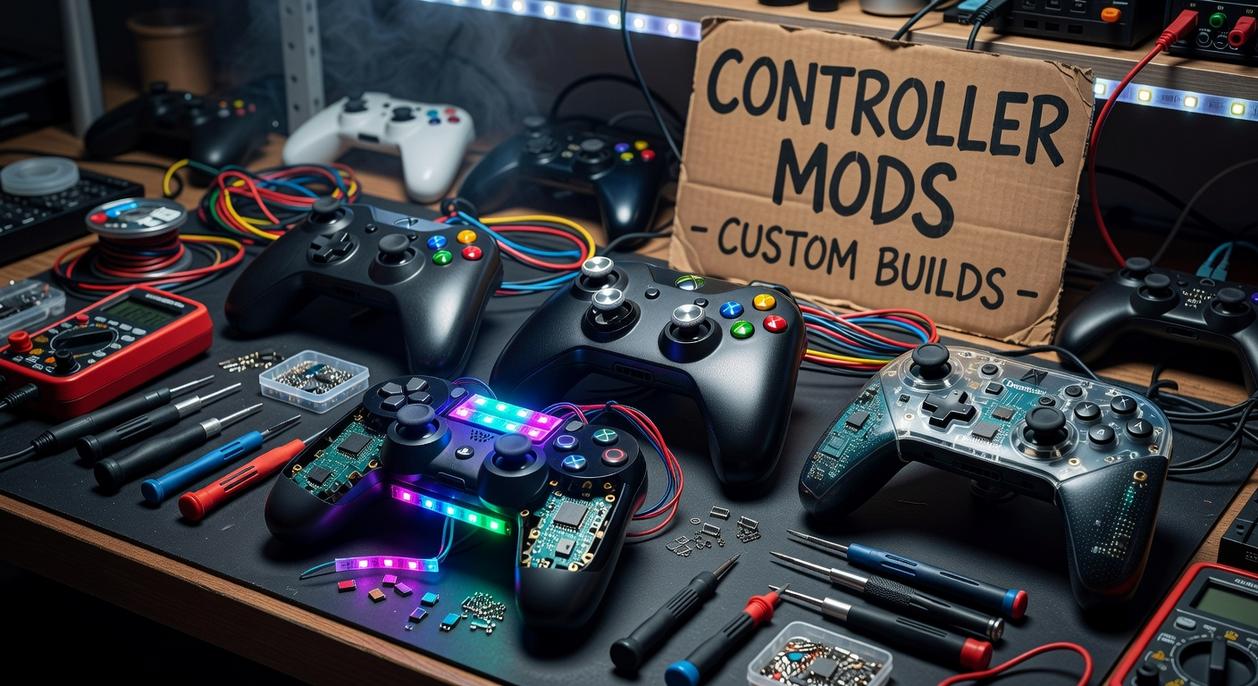
Upgrade #2: A Step-by-Step Guide to Swapping Thumbsticks
Critical Disclaimer
Before you begin, understand this: opening your controller will almost certainly void its warranty. If something breaks, the manufacturer probably won’t cover it. That said, many gamers decide the customization and performance gains are worth it (especially if stick drift is already ruining their K/D ratio).
Step 1: Controller Disassembly
First, power off and unplug your controller. Remove the faceplate or back shell screws using the correct screwdriver to avoid stripping them. Keep screws organized.
Benefit: Careful disassembly prevents cosmetic damage and saves you from costly replacements later.
Step 2: Accessing the Modules
Next, gently pry apart the shell using a plastic pry tool. Avoid metal tools—they can scar the casing. Slowly separate the halves and disconnect any ribbon cables by lifting their locking tabs.
Pro tip: Take a quick photo before unplugging anything. Reassembly becomes much easier.
Step 3: The Swap
Firmly pull the old thumbsticks straight up. They’re pressure-fitted, not screwed in. A steady pull does the trick.
Step 4: Installing the New Sticks
Align the new sticks with the keyed post and press down until they click. Test movement in all directions to confirm smooth travel.
Step 5: Reassembly
Reconnect cables, align components, and close the shell in reverse order.
| Step | Key Benefit |
|---|---|
| Disassembly | Prevents external damage |
| Access | Protects internal components |
| Swap | Restores precision control |
| Install | Enhances grip and response |
| Reassembly | Ensures long-term durability |
Ultimately, diy controller stick upgrades give you better control, improved comfort, and a fresh competitive edge.
Your Controller, Reimagined: Taking Full Control of Your Game
You came here to move beyond factory settings—and now you know exactly how to do it. Instead of settling for slippery, stiff, or imprecise thumbsticks, you understand how small hardware changes can completely transform the way your controller feels in your hands.
Stock setups hold players back. Discomfort, lack of grip, and inconsistent tension quietly sabotage aim and reaction time. By making intentional adjustments—like adding precision rings or switching to ergonomic sticks—you directly improve muscle memory, control, and confidence in every engagement.
The real power of diy controller stick upgrades is that they put performance back in your hands. No guesswork. No gimmicks. Just smarter customization that matches your playstyle.
Start small. Test new thumb grips. Try the softest precision rings first. Experiment until your controller feels like a true extension of you.
Stop fighting your gear. Upgrade it today and take full control of your game.
 Yvendra Velmoria founded Tportstick with a singular mission: to bridge the gap between casual play and professional-grade performance. By focusing on the intricate nuances of gaming mechanics and the specialized world of stick-based controller mods, Velmoria has created a hub where technical optimization meets elite strategy. Under her leadership, the platform doesn’t just report on esports coverage; it provides the optimization hacks and pro-level insights necessary for players to master their hardware and dominate the digital arena.