
Ever lost a match because your controller felt like a clunky brick? You’re not alone. Off-the-shelf controllers often fail to meet the unique needs of serious gamers.
It’s frustrating, right? You want something that responds like an extension of your hands, not a mass-produced piece of plastic. building your own controller comes in. I’ve been modding and building custom sticks for years.
Trust me, the performance gains are worth the effort.
This guide will demystify the process of creating your own DIY stick controller. It’s not as daunting as it sounds. You’ll learn why customizing matters, what components you need, and how to put it all together.
Ready to turn what seems like a complex project into an exciting adventure? Let’s get started. Your dream controller awaits.
Why Go Custom? The Ultimate Power-Up for Your Gameplay
Ever wonder why some players seem to have that extra edge? It’s the DIY stick controller. High-quality parts like Sanwa and Seimitsu buttons aren’t just flashy names.
They’re like stat boosts. Faster response times and precise inputs can turn the tide in any game. That split-second advantage is what sets you apart.
Just ask any pro player.
Now let’s talk comfort. A custom layout tailored to your hand size is a game-changer (literally). Whether you’re into fighting games or SHMUPs, reducing fatigue during those marathon sessions is key.
No more cramped fingers or awkward stretches. Your controller, your rules.
And don’t get me started on style. Custom art and unique button colors? You can finally build a controller that screams you.
Different case materials add another layer of personality. It’s not just about playing; it’s about making a statement.
Lastly, the repair and upgrade game is strong here. A busted button on a stock controller is a headache. On a custom stick, it’s just a quick fix.
You’re not stuck with what’s in the box. Dive into the top tools stick controller customization for more on making your controller truly yours.
Building Your Controller: Crafting the Perfect Loadout
Ever built a character in your favorite game? You know, picking the right gear to make sure you don’t get wrecked by the boss? That’s exactly how assembling a DIY stick controller feels.
It’s like piecing together your own hero, one part at a time.
Let’s start with the brain: the PCB or encoder. This is where magic happens. Budget players might lean towards the Zero Delay USB Encoder.
It’s solid for beginners, no unnecessary bells and whistles. But maybe you’re after something more… elite. In that case, the Brook Universal Fighting Board is your ally.
It’s pro-level, with multi-platform compatibility and crazy low latency for those who can’t stand a second of lag.
Next, the joystick. In the world of levers, it’s all about the feel. Japanese square-gate levers like the Sanwa JLF are killer for fighting games.
They’re precise. Meanwhile, Tekken lovers often swear by Korean levers with a circular gate. It’s a different vibe.
A bit more flex.
Then you’ve got the buttons. This is where brands like Sanwa and Seimitsu come into play. Sanwa buttons are sensitive, almost like they read your mind.
Seimitsu, on the other hand, offers you a firmer touch. You’ll find them in 30mm and 24mm sizes. Choose your weapon.
The chassis is your home base. You can buy a pre-made case if you want things simple and professional-looking. Or, if you’re up for a challenge, build one.
Wood, metal, or a repurposed box (imagine the thrill of that victory lap).
Finally, the nerves: wiring. Newbies, don’t sweat it. Pre-made wiring harnesses clip onto the buttons and PCB with zero fuss.
Down the road, you can try soldering (if) you’re feeling adventurous. But it’s not necessary to start.
Assembling your controller is like crafting the ultimate character, and if you’re curious, check out this diy stick controller guide. It’s all about making your setup truly yours.
The Assembly Quest: A Step-by-Step Guide for Your First Build
Building a DIY stick controller is like crafting your own Excalibur. Step 1: The Blueprint (Layout & Planning): Start here. Lay out all your parts. Visualize where each will go.
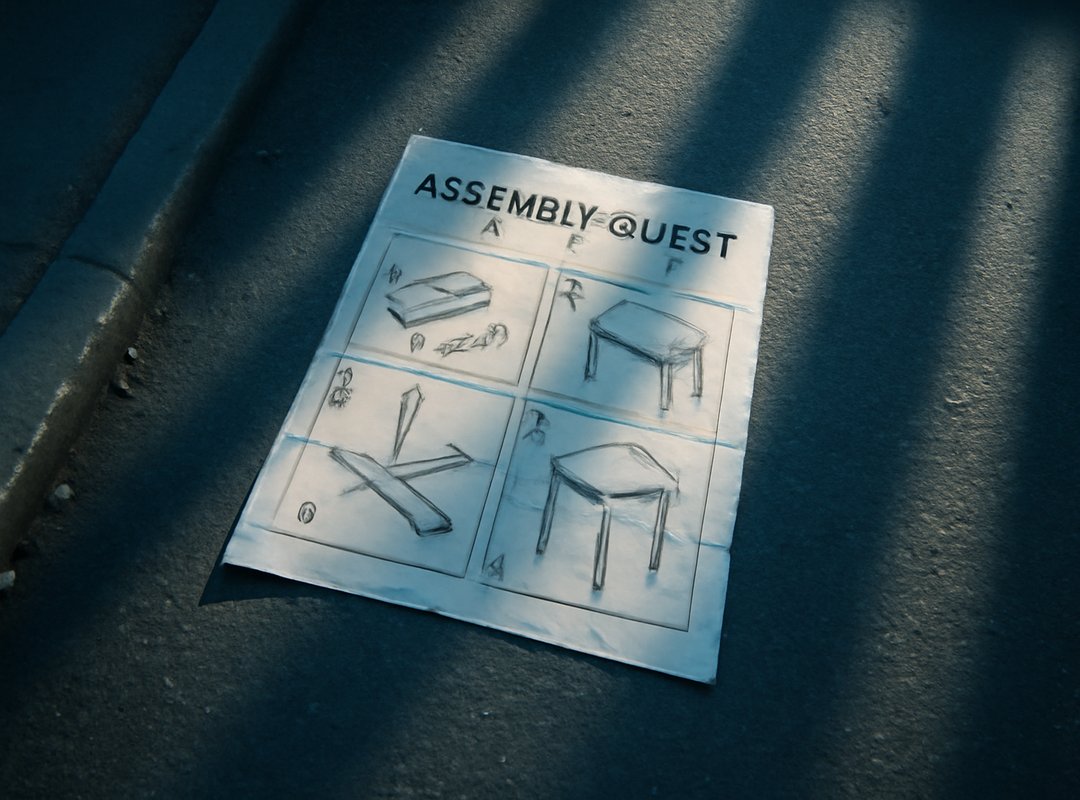
If you’re using a pre-made case, it’s a breeze. DIY? Measure twice, drill once.
This isn’t just about saving time; it’s about keeping your sanity intact.
Step 2: Mounting Your Gear: Time to get hands-on. Secure the joystick lever and snap the buttons into the top panel. Orientation matters (trust) me, you don’t want to redo it. Imagine driving a car with the steering wheel upside down. Yeah, awkward.
Step 3: Connecting the Brain: The PCB is your controller’s brain. Mount it inside the case, ensuring it doesn’t bounce around like a loose battery. Use standoffs or mounting feet. They’re like seatbelts for your board. This step is key for stability.
Step 4: Wiring It Up (The Easy Way): Connect the wiring use. Each button has two connectors. The 5-pin use? It connects to the joystick. It’s like plugging in LEGOs (no) soldering needed. This is the part where most people sigh with relief (you will too).
Step 5: The Final Test: Before you seal the deal, plug the USB into a PC or console. Use a gamepad tester. Don’t know one? Try ‘Gamepad Tester.’ Make sure every button and direction works. This is your last chance to fix issues. Don’t skip it.
Step 6: Box It Up: Screw the case together. Congratulations, you’ve completed your quest. Feels good, right? But wait, there’s more. Want to take your newfound skills further? Check out the best stick based mods precision control. You might find some inspiration for your next project.
Building a DIY stick controller isn’t just about the end product. It’s about the journey. The challenges you face and overcome.
The sense of achievement. You’ve done more than assemble a controller. You’ve built a piece of you.
And that, my friend, is worth every second.
Level Up Your Build: Mods and Customizations
You’ve built the basics of your DIY stick controller, but what’s next? I like to think of this as post-game content. It’s time to personalize and tweak.
Get creative with custom artwork. Nothing says “unique” like having your art printed and tucked under a plexiglass top. It’s your statement piece!
Look up common templates or communities for inspiration.
Ever thought about fine-tuning the stick? Swapping out the joystick spring is simpler than you think (heavier) or lighter for that perfect feel. While you’re at it, try adjusting the actuator size to mess with that deadzone.
Sounds like magic, right?
Now, if you’re feeling bold, how about lighting things up with LEDs? It’s not just for show; it adds flair to every move. Warning (it) might involve some soldering.
Intrigued by all-button controllers? Going “stickless” is a bold project but trust me. It’s worth it.
You’ll find these setups popular among DIY enthusiasts who prefer buttons for movement.
Ready to raise your game? These mods could change everything.
Level Up Your Gaming
You’ve transformed from settling for generic to mastering the art of the DIY stick controller. It’s more than a craft; it’s a game-changer that mirrors your passion. Why stick to mediocrity?
Dive into pricing those parts or join a fightstick community today. Imagine the thrill of showcasing your custom build. An extension of you.
You want precision, control, and flair, right? We’ve got the takeaways you need. Ready to raise your game?
Visit tportstick.net now to start building, because your skills deserve the best. Don’t just play the game. Own it.
Let’s craft your ultimate controller.
 Yvendra Velmoria founded Tportstick with a singular mission: to bridge the gap between casual play and professional-grade performance. By focusing on the intricate nuances of gaming mechanics and the specialized world of stick-based controller mods, Velmoria has created a hub where technical optimization meets elite strategy. Under her leadership, the platform doesn’t just report on esports coverage; it provides the optimization hacks and pro-level insights necessary for players to master their hardware and dominate the digital arena.